Unity
3D Object Image for UI Toolkit - World objects, Mini-Maps, Inventory, Portraits
By KAMGAM
$29.99
Rated 0.0/5 from 1 ratings on Unity.
About 3D Object Image for UI Toolkit - World objects, Mini-Maps, Inventory, Portraits
- Art & Visuals > UI & GUI
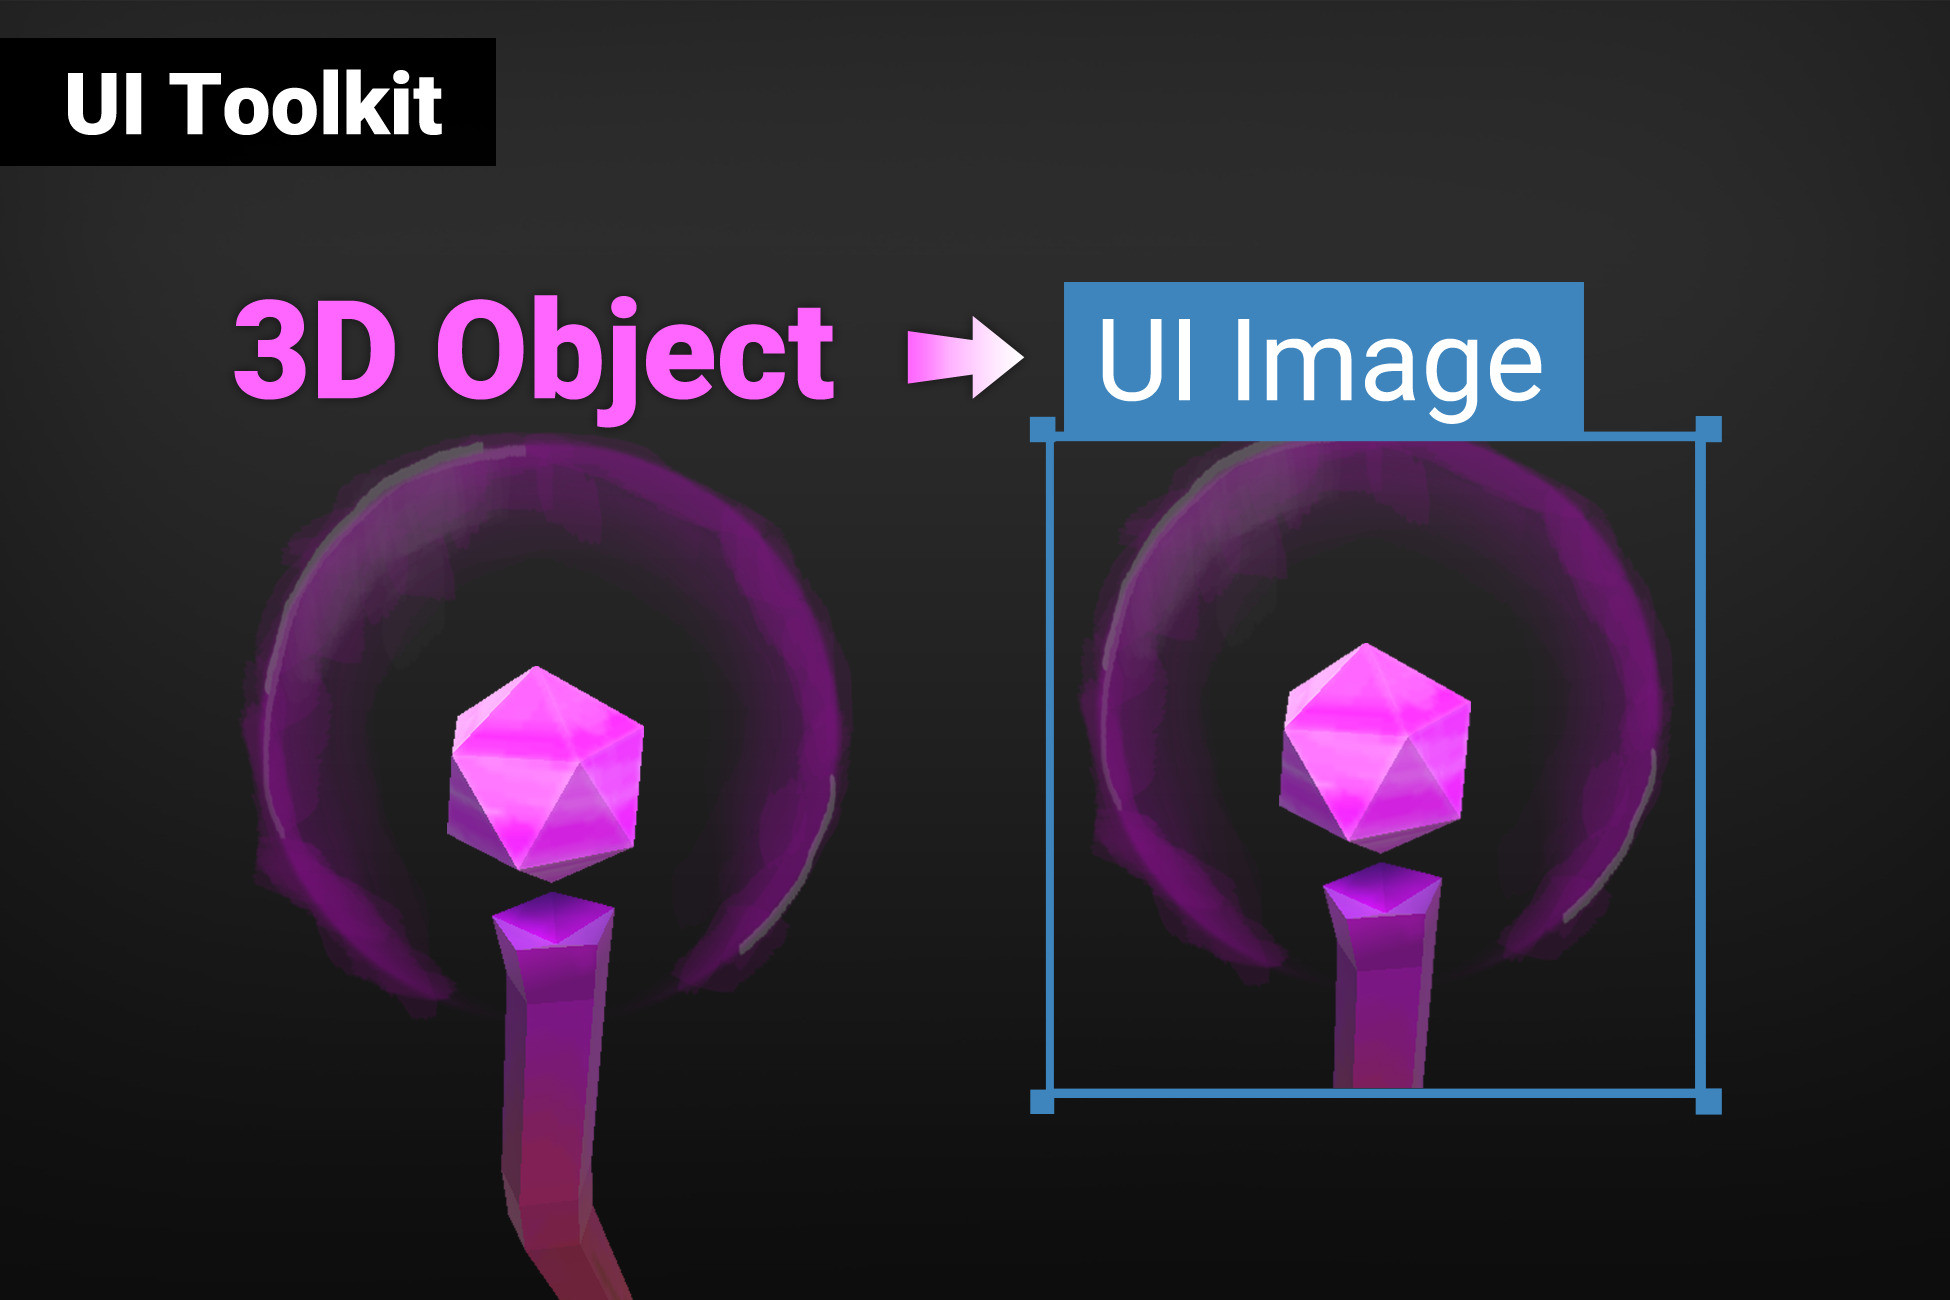
Render 3D world objects or prefabs in your UI.
Note: This asset is for UI TOOLKIT, not the default uGUI.
Use Cases:
- Show 3D items in an inventory UI: Add the PrefabInstantiator to the WorldObjectRenderer and you are done
- 3D portrait of an NPC: Simply drag in the transform of the NPC into the list of world objects
- Top-down mini-map of the level: Empty the list of world objects and then use "Camera Look At" and "Camera position" to have the camera high up in the sky looking down
Compatible with Built-In, URP and HDRP: Works almost the same in all render pipelines.
Lots of examples and documentation: Check out Kamgam/UIToolkitWorldImage/Examples.
Full Source Code included.
Usage:
1) Create a WorldObjectRenderer in the scene and give it an ID
2) Drag in the WorldImage element from the UI Builder Library
3) Enter the renderer ID
4) Done
Hints:
- Disable "Use Render Textures" to use camera stacking instead of render textures
- Use the PrefabInstantiator to instantiate and destroy prefabs on demand
- Multiple images can display the same renderer (simply set them all to the same Renderer ID)
Note: Transparent objects work right out of the box but there are some caveats detailed in the manual.
Note: This asset is for UI TOOLKIT, not the default uGUI.
Use Cases:
- Show 3D items in an inventory UI: Add the PrefabInstantiator to the WorldObjectRenderer and you are done
- 3D portrait of an NPC: Simply drag in the transform of the NPC into the list of world objects
- Top-down mini-map of the level: Empty the list of world objects and then use "Camera Look At" and "Camera position" to have the camera high up in the sky looking down
Compatible with Built-In, URP and HDRP: Works almost the same in all render pipelines.
Lots of examples and documentation: Check out Kamgam/UIToolkitWorldImage/Examples.
Full Source Code included.
Usage:
1) Create a WorldObjectRenderer in the scene and give it an ID
2) Drag in the WorldImage element from the UI Builder Library
3) Enter the renderer ID
4) Done
Hints:
- Disable "Use Render Textures" to use camera stacking instead of render textures
- Use the PrefabInstantiator to instantiate and destroy prefabs on demand
- Multiple images can display the same renderer (simply set them all to the same Renderer ID)
Note: Transparent objects work right out of the box but there are some caveats detailed in the manual.